> ## Documentation Index
> Fetch the complete documentation index at: https://botpress.com/docs/llms.txt
> Use this file to discover all available pages before exploring further.
# Quickstart
> Use the Webchat embed code to add a bot to your website.
Webchat makes it easy to embed a bot on your website. If you self-host your website, just follow the instructions on this page.
If you use a website-building tool like [WordPress](/webchat/integrations/wordpress), [Wix](/webchat/integrations/wix) or [Webflow](/webchat/integrations/webflow), see the other pages in this section for instructions on how to add your bot.
You will need:
* A [published bot](/get-started/quick-start)
* Basic familiarity with HTML
To embed a bot on your website, you need the bot's Webchat embed code. You can get the embed code from the Dashboard:
1. Open your bot's Workspace and select the bot you want to embed.
2. In the left sidebar, go to **Webchat** > **Deploy Settings**.
3. Copy the **Embed code**:

 Next, add the Webchat embed code to the `head` section of your website's HTML. For example:
```html index.html {4-5} theme={"theme":{"light":"light-plus","dark":"dark-plus"}}
```
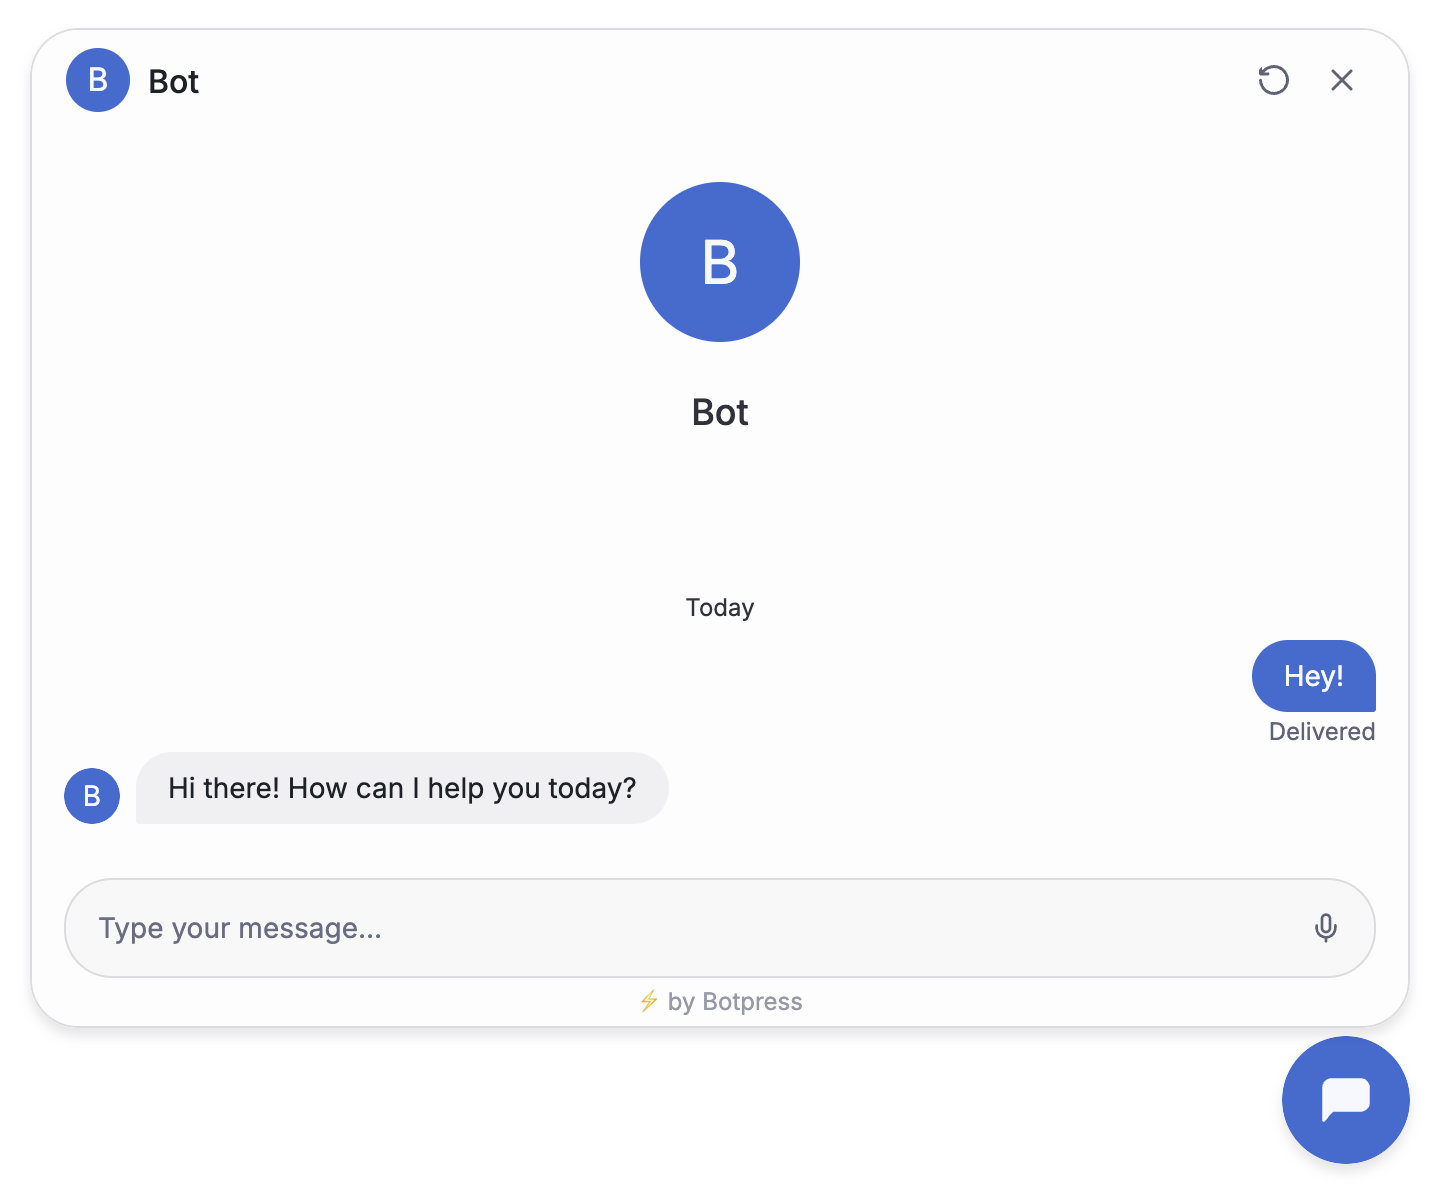
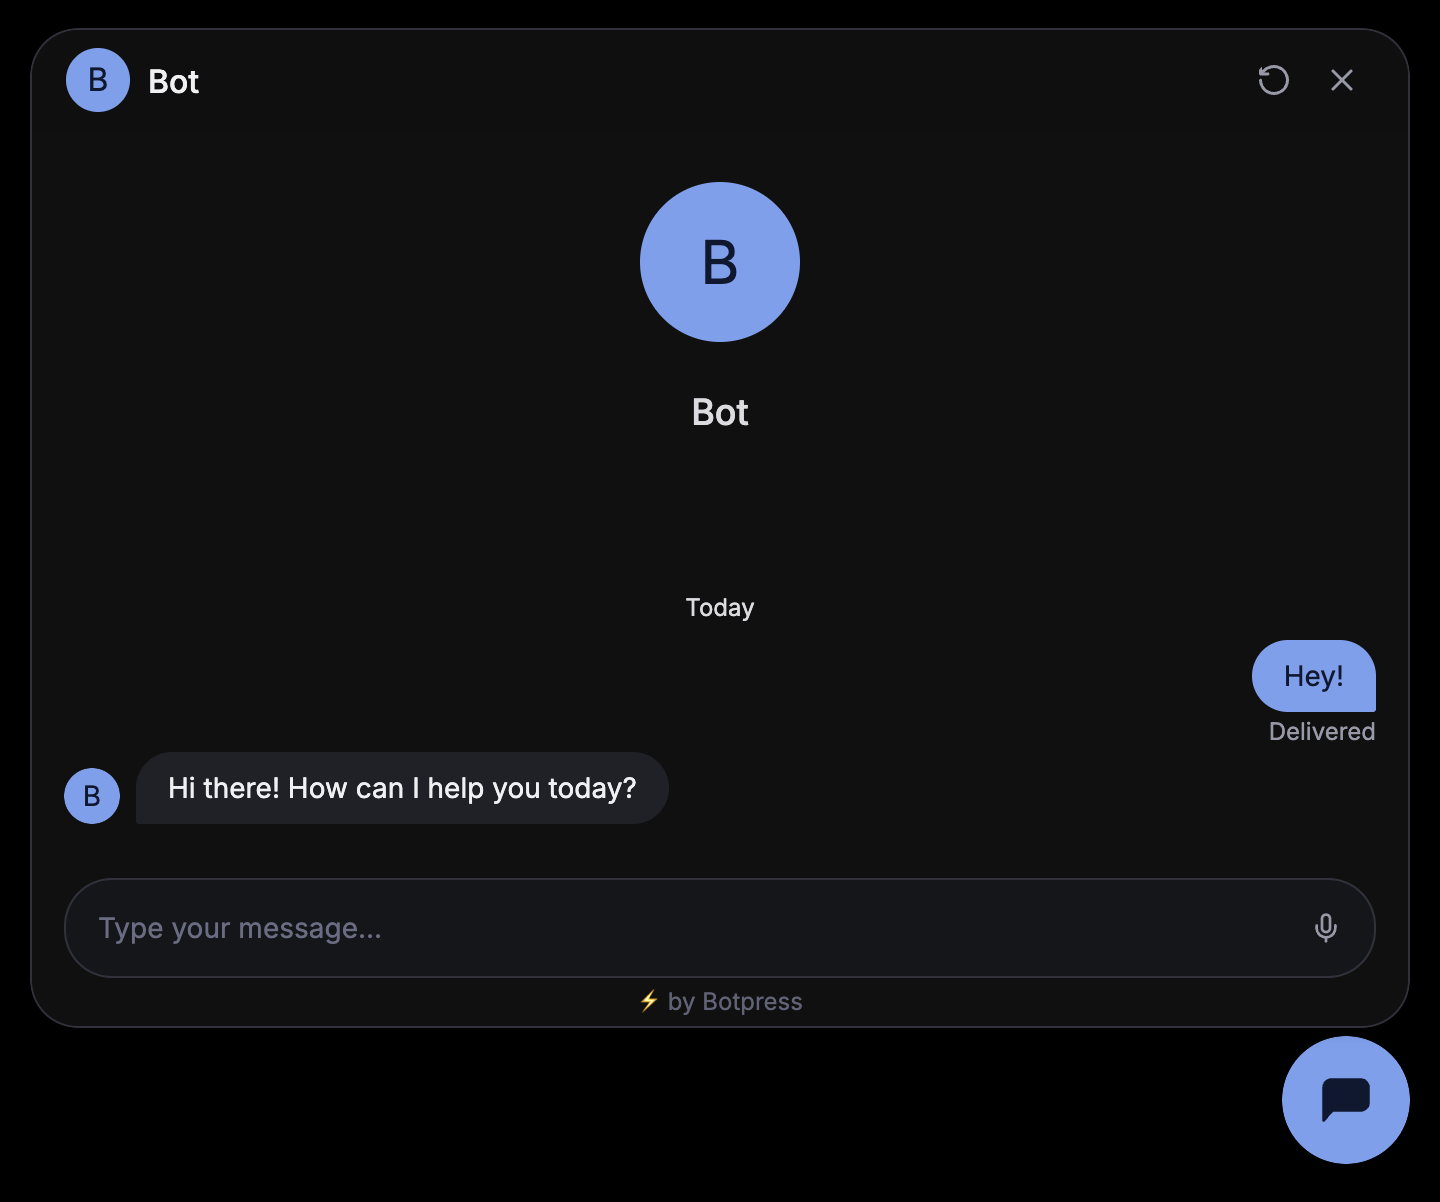
You're all set! Open your website and start chatting with your bot. It should look something like this:
Next, add the Webchat embed code to the `head` section of your website's HTML. For example:
```html index.html {4-5} theme={"theme":{"light":"light-plus","dark":"dark-plus"}}
```
You're all set! Open your website and start chatting with your bot. It should look something like this:
 Done! Your bot is now live on your website.
## Next steps
Now that you've added your bot, try [styling it](./configure-your-webchat) to match the rest of your website's user interface.
Done! Your bot is now live on your website.
## Next steps
Now that you've added your bot, try [styling it](./configure-your-webchat) to match the rest of your website's user interface.