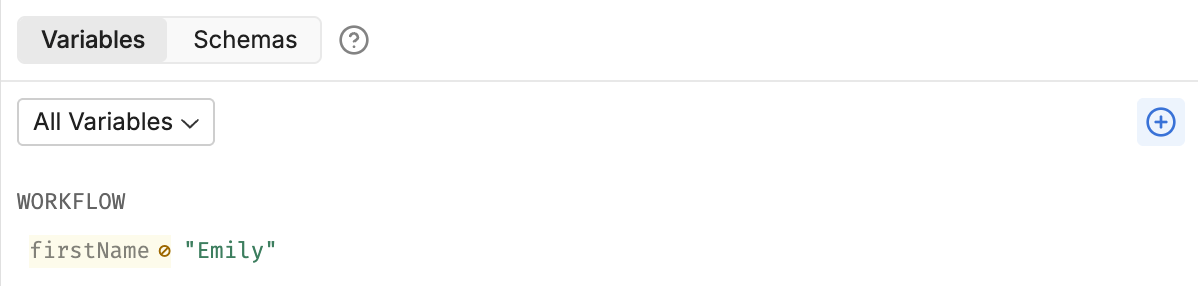
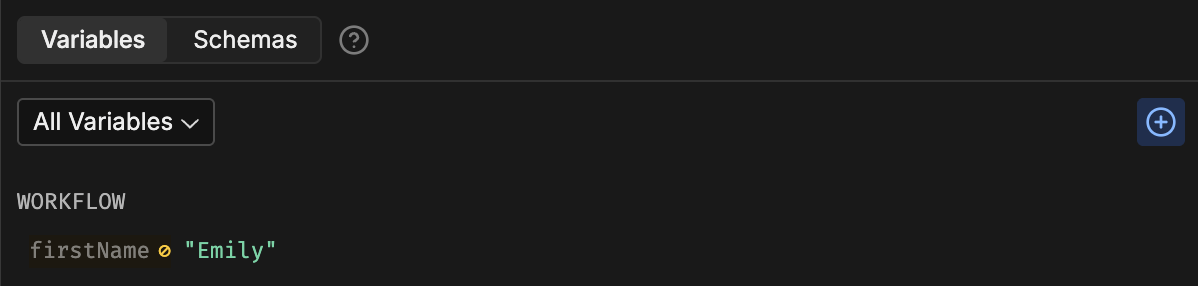
A newly-created variable is like an empty box—you need put something inside it before you can use it. This is called assigning a value to your variable.
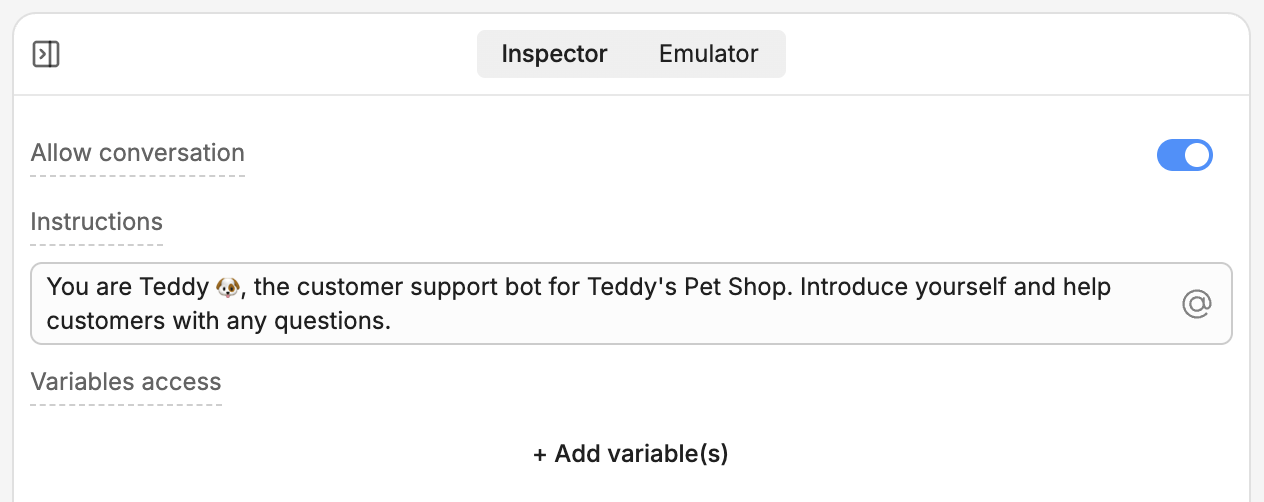
Let’s use our firstName variable to remember the user’s first name. Go back to the Main Workflow and select your Autonomous Node. This opens its inspector:
Giving access to variables
By default, the Autonomous Node can’t check what’s in a variable or assign it a different value.
Let’s give it access. Select + Add variable(s), then select workflow.firstName. Then, check Allow write access, so your bot has permission to modify the variable.
Modifying your prompt
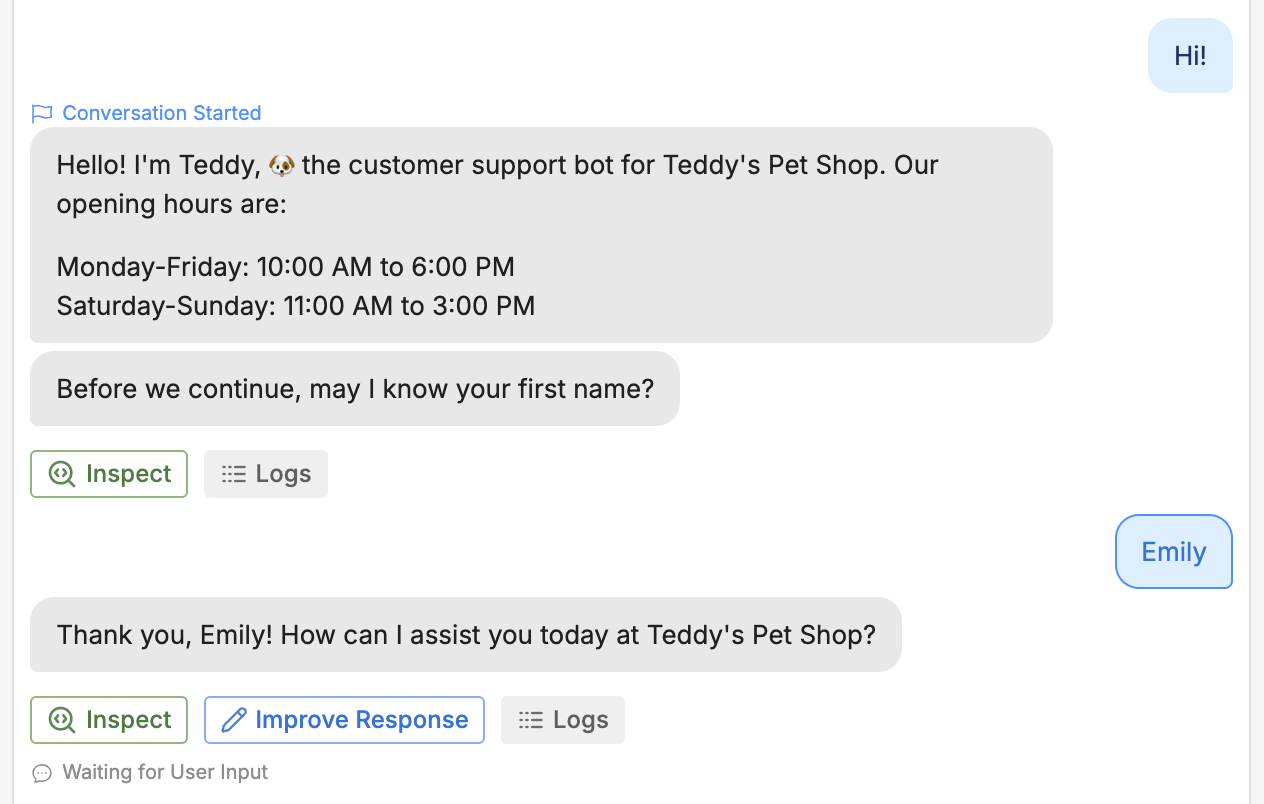
Next, modify the prompt so your bot knows how to work with the variable. Erase everything in the Instructions field, then paste the following:
You are Teddy 🐶, the customer support bot for Teddy's Pet Shop.

If the `firstName` variable has a value, use it to address the user by name. If not, prompt the user to enter their name, then assign it to `firstName`.
Last modified on June 12, 2026