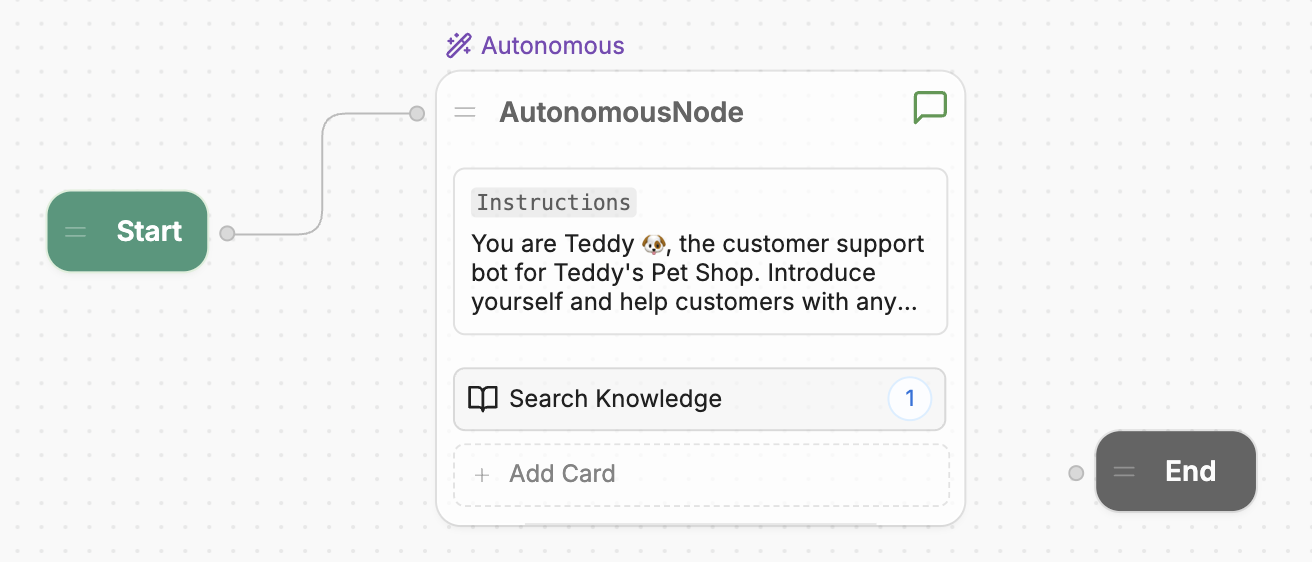
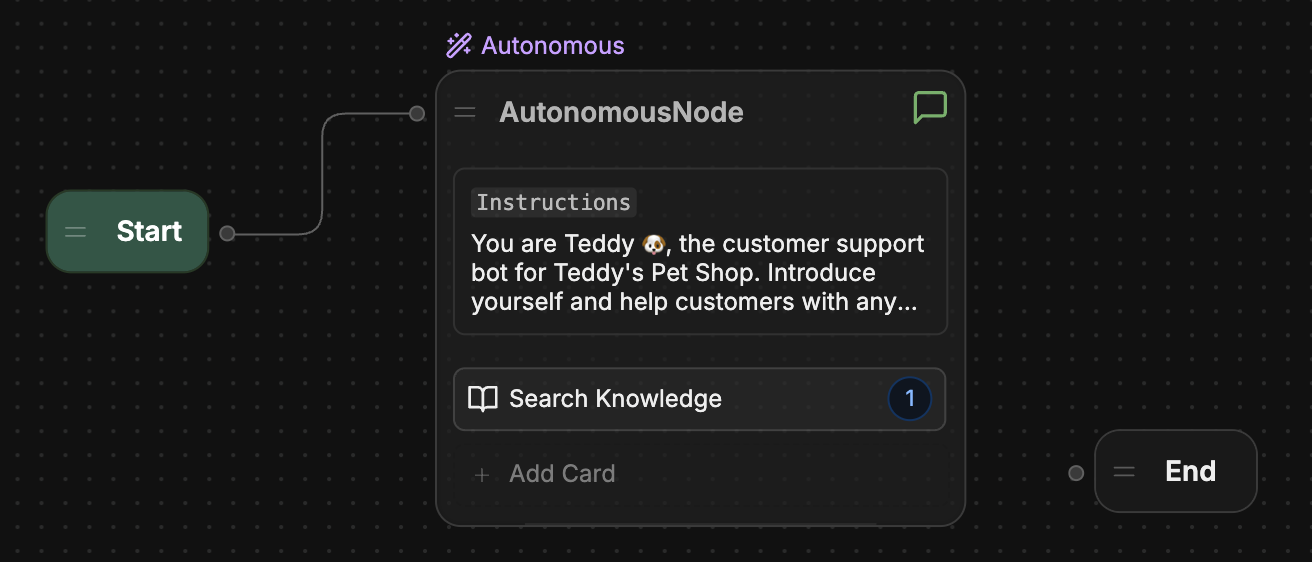
So far, we’ve only had our bot generate responses using AI. In practice, though, you might run into situations where you want your bot to perform some hard-coded logic. In Studio, you can do this using Workflows. A Workflow is a drag-and-drop canvas that represents the steps your bot follows during a conversation with a user.

Nodes

Each step in a Workflow is represented by a Node. Let’s open the Main Workflow and take a look at its Nodes:
  1. Go to the Workflows section in the left sidebar.
  2. Select your Main Workflow. It should look something like this:
Main Workflow
The Main Workflow contains the main logic for your bot—it executes as soon as a user starts a new conversation. By default, it contains:
  • A Start Node, which starts the conversation
  • An Autonomous Node, which generates AI responses
  • An End Node, which ends the conversation
You may have noticed the Autonomous Node has an Instructions field with the same instructions we provided earlier. This is no coincidence! The settings on Studio’s home screen are shortcuts to configure the Autonomous Node.

Transitions

Notice the path connecting the Start Node and the Autonomous Node:
Transition
This is a transition. It tells your bot:
“When the conversation starts, go directly to the Autonomous Node.”
I