- Provide your bot with specialized information (like company policies, pricing charts, or troubleshooting steps)
- Scope your bot’s responses to specific topics
- Let your bot reference data from tables in its responses
Create a Knowledge Base
To create a Knowledge Base:- Navigate to the Knowledge Base menu in the studio.
- Select New Knowledge Base.
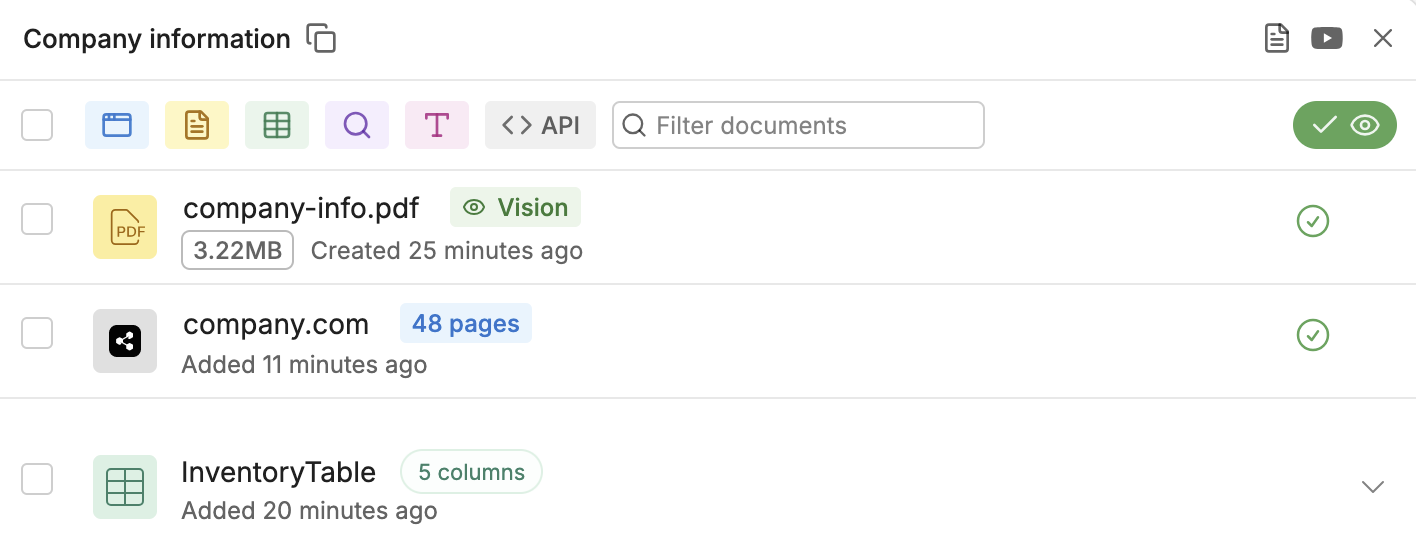
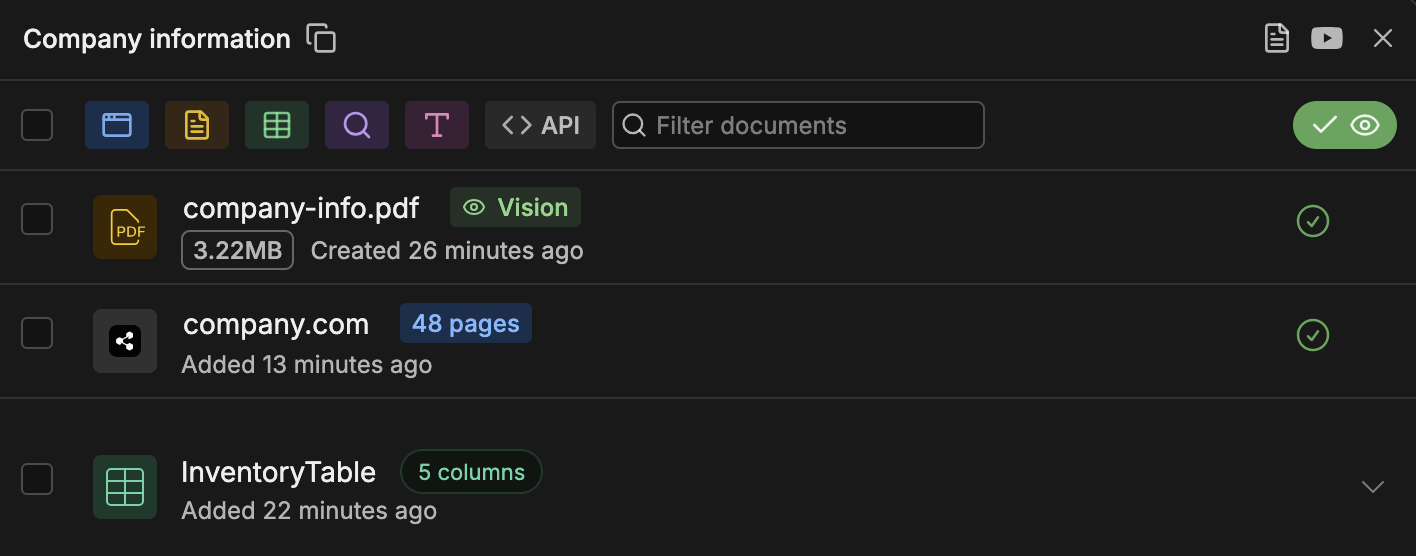
Add sources
Once you’ve created a Knowledge Base, you can add sources to it: Your bot will reference these sources when searching for an answer to a user’s question.Search a Knowledge Base
Your bot searches Knowledge Bases differently depending on whether it’s executing an Autonomous Node or a Standard Node:Using an Autonomous Node
Since your bot only references Knowledge Bases when they’re needed, they’re useful for de-cluttering your Autonomous Node’s prompt.
- Open the drop-down menu under Included Knowledge Bases.
- Select whichever Knowledge Bases you want to include in searches.
Depending on your needs, you can also add multiple Search Knowledge Cards to your Autonomous Node. For more information, check out the guide on searching multiple Knowledge Bases.
Using a Standard Node
Since Standard Nodes don’t use AI to generate responses, they don’t consult your Knowledge Bases by default. To make your bot search your Knowledge Bases within a Standard Node, you can use:- A Capture Information Card
- A Query Knowledge Bases Card
Both of these Cards require the Knowledge Agent to work properly—make sure it’s enabled.
By default, neither of these Cards send their response to the user directly—instead, you can access the response by referencing
turn.KnowledgeAgent.answer, then send it to the user manually.Search multiple Knowledge Bases
If you’re using an Autonomous Node, you have two options for searching multiple Knowledge Bases:Search all Knowledge Bases simultaneously
If you need your bot to search all selected Knowledge Bases for every user query, you can use a single Search Knowledge Card:- Add a Search Knowledge Card to your Autonomous Node (if it doesn’t already contain one).
- Select the Card to open its configuration menu.
- Open the drop-down menu under Included Knowledge Bases.
- Select whichever Knowledge Bases you want to include in searches.
- You have multiple Knowledge Bases that can answer similar questions
- You need to combine the answers from different Knowledge Bases in the same message
Generally, searching all Knowledge Bases simultaneously consumes more LLM tokens and has higher latency than picking which Knowledge Bases to search based on context.
Pick Knowledge Bases to search based on the query
If you need your bot to search certain Knowledge Bases in certain circumstances, you can use multiple Search Knowledge Cards:- Add multiple Search Knowledge Cards to your Autonomous Node.
- Configure each Card’s Included Knowledge Bases depending on your needs.
For this configuration to work, you need to specify instructions in each Search Knowledge Card’s Instructions field. Otherwise, the Autonomous Node won’t be able to tell the two Cards apart, and will pick one randomly.For example, you could add these instructions for questions about company policies:


Handle no answer found
If your Workflow has an Autonomous Node, your bot will generate an appropriate response when it doesn’t find an answer in the Knowledge Base. However, you can also program a custom response:- In your Autonomous Node, add a Transition Card.
- In the Card’s Condition field, paste the following:
- Add the following to your Autonomous Node’s prompt:
Storage limit
Information you store in Knowledge Bases counts towards your Vector DB Storage, which depends on your Botpress plan/add-ons.Troubleshooting
If your bot isn’t returning the expected results, you can try troubleshooting it in a few different ways:Check logs
Your bot’s logs display:- The exact query that was sent to the Knowledge Base
- The results (including source name, content preview, amount of tokens used by the content, row metadata if the source is a table) if there are any matches