Send user data to your bot
Provide your bot with data about the current user.
You can use Webchat to easily provide your bot with information about the current user. This is useful if your website stores user data (like with a customer login) and you want your bot to have access to that data.
Sending user data to your bot allows it to:
- Address the user by name
- Have immediate access to their contact information
- Streamline their experience
You will need:
- A website with an embedded bot
- Familiarity with HTML and JavaScript
Initialize with user data
You may want to provide some user data while initializing Webchat on your website. This allows your bot to deliver a more personalized conversation experience from the start.
If you directly copy any of the code in this guide, be careful — it contains placeholder values. Your code should contain your actual Webchat parameters.
Find your Webchat embed code
Open the .html
file that contains your Webchat embed code. For example:
Copy the script URL
Copy the src
URL in the second script tag. For example:
Then, open it in your browser and copy the content of the page. It should look something like this:
This is the Webchat auto-initialization script. Usually, this executes when your website is loaded. However, to load your bot with user data, you need to manually intialize it.
Remove the auto-initialization script
Go back to the .html
file with your embed code. Then, delete the second line:
Manually initialize Webchat
Paste the script into your website’s JavaScript code. For example:
Now, your website will manually intialize Webchat.
You could leave this code as-is — Webchat would behave exactly the same as before. All we did was move the script directly into your source code.
However, since you can now modify the script directly, you can load Webchat with user data.
Load Webchat with user data
Now, you can add any user data you’d like to your script. For example, if you define variables for login information, you can reference them in the script:
Update user data
Use the window.botpress.updateUser
function to update user data after your website has initialized Webchat:
Access user data in Studio
Once you’ve provided Webchat with user data, you can use the Get User Data Card to access it in the Studio:
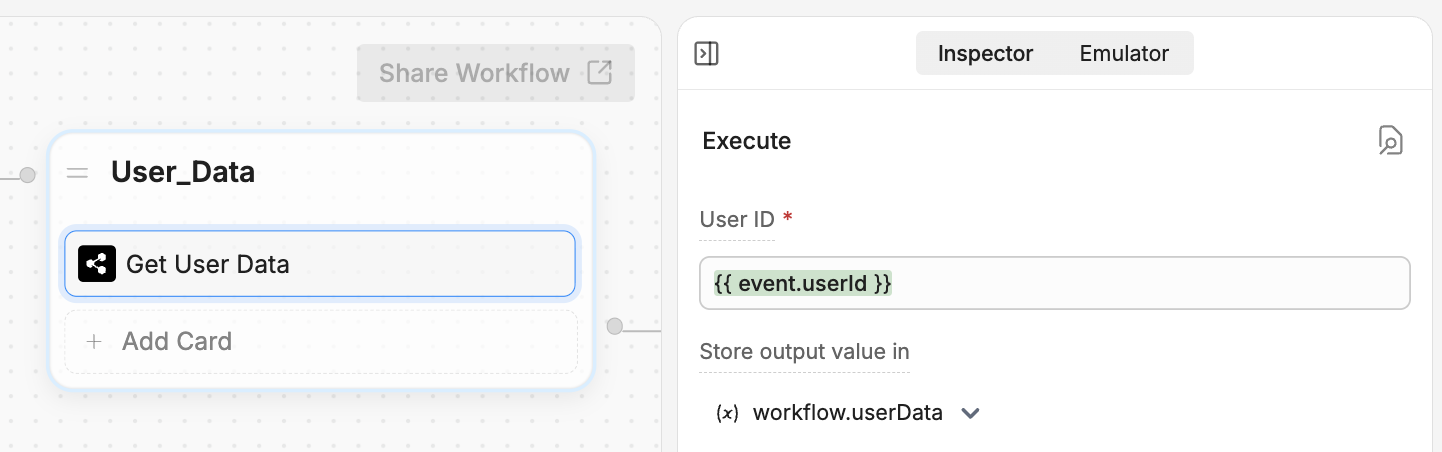
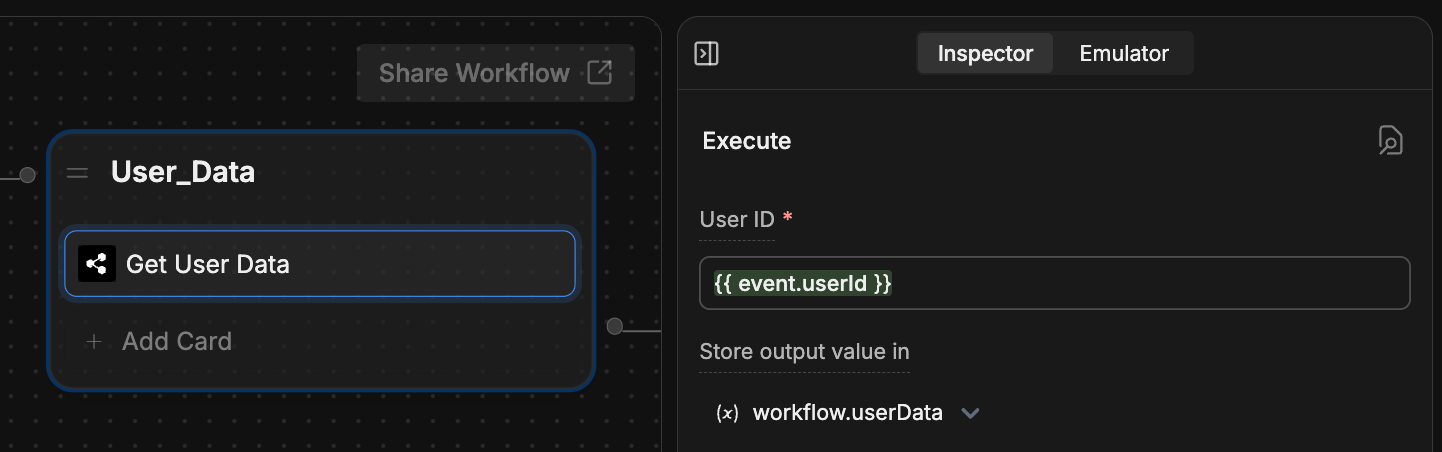
In the User ID field, enter {{ event.userId }}
. You can store the user data in any variable you’d like.